How to create a Group and Multicode?
Task
Create a group and multicode.
Create a Group
How to create a group.
Find the endpoint
Go to the API Reference section of this documentation and to the controller called Public User Group.
There you will find an endpoint called ‘/api/usergroup/create/group’

Click on the endpoint and it will open up to show more information.
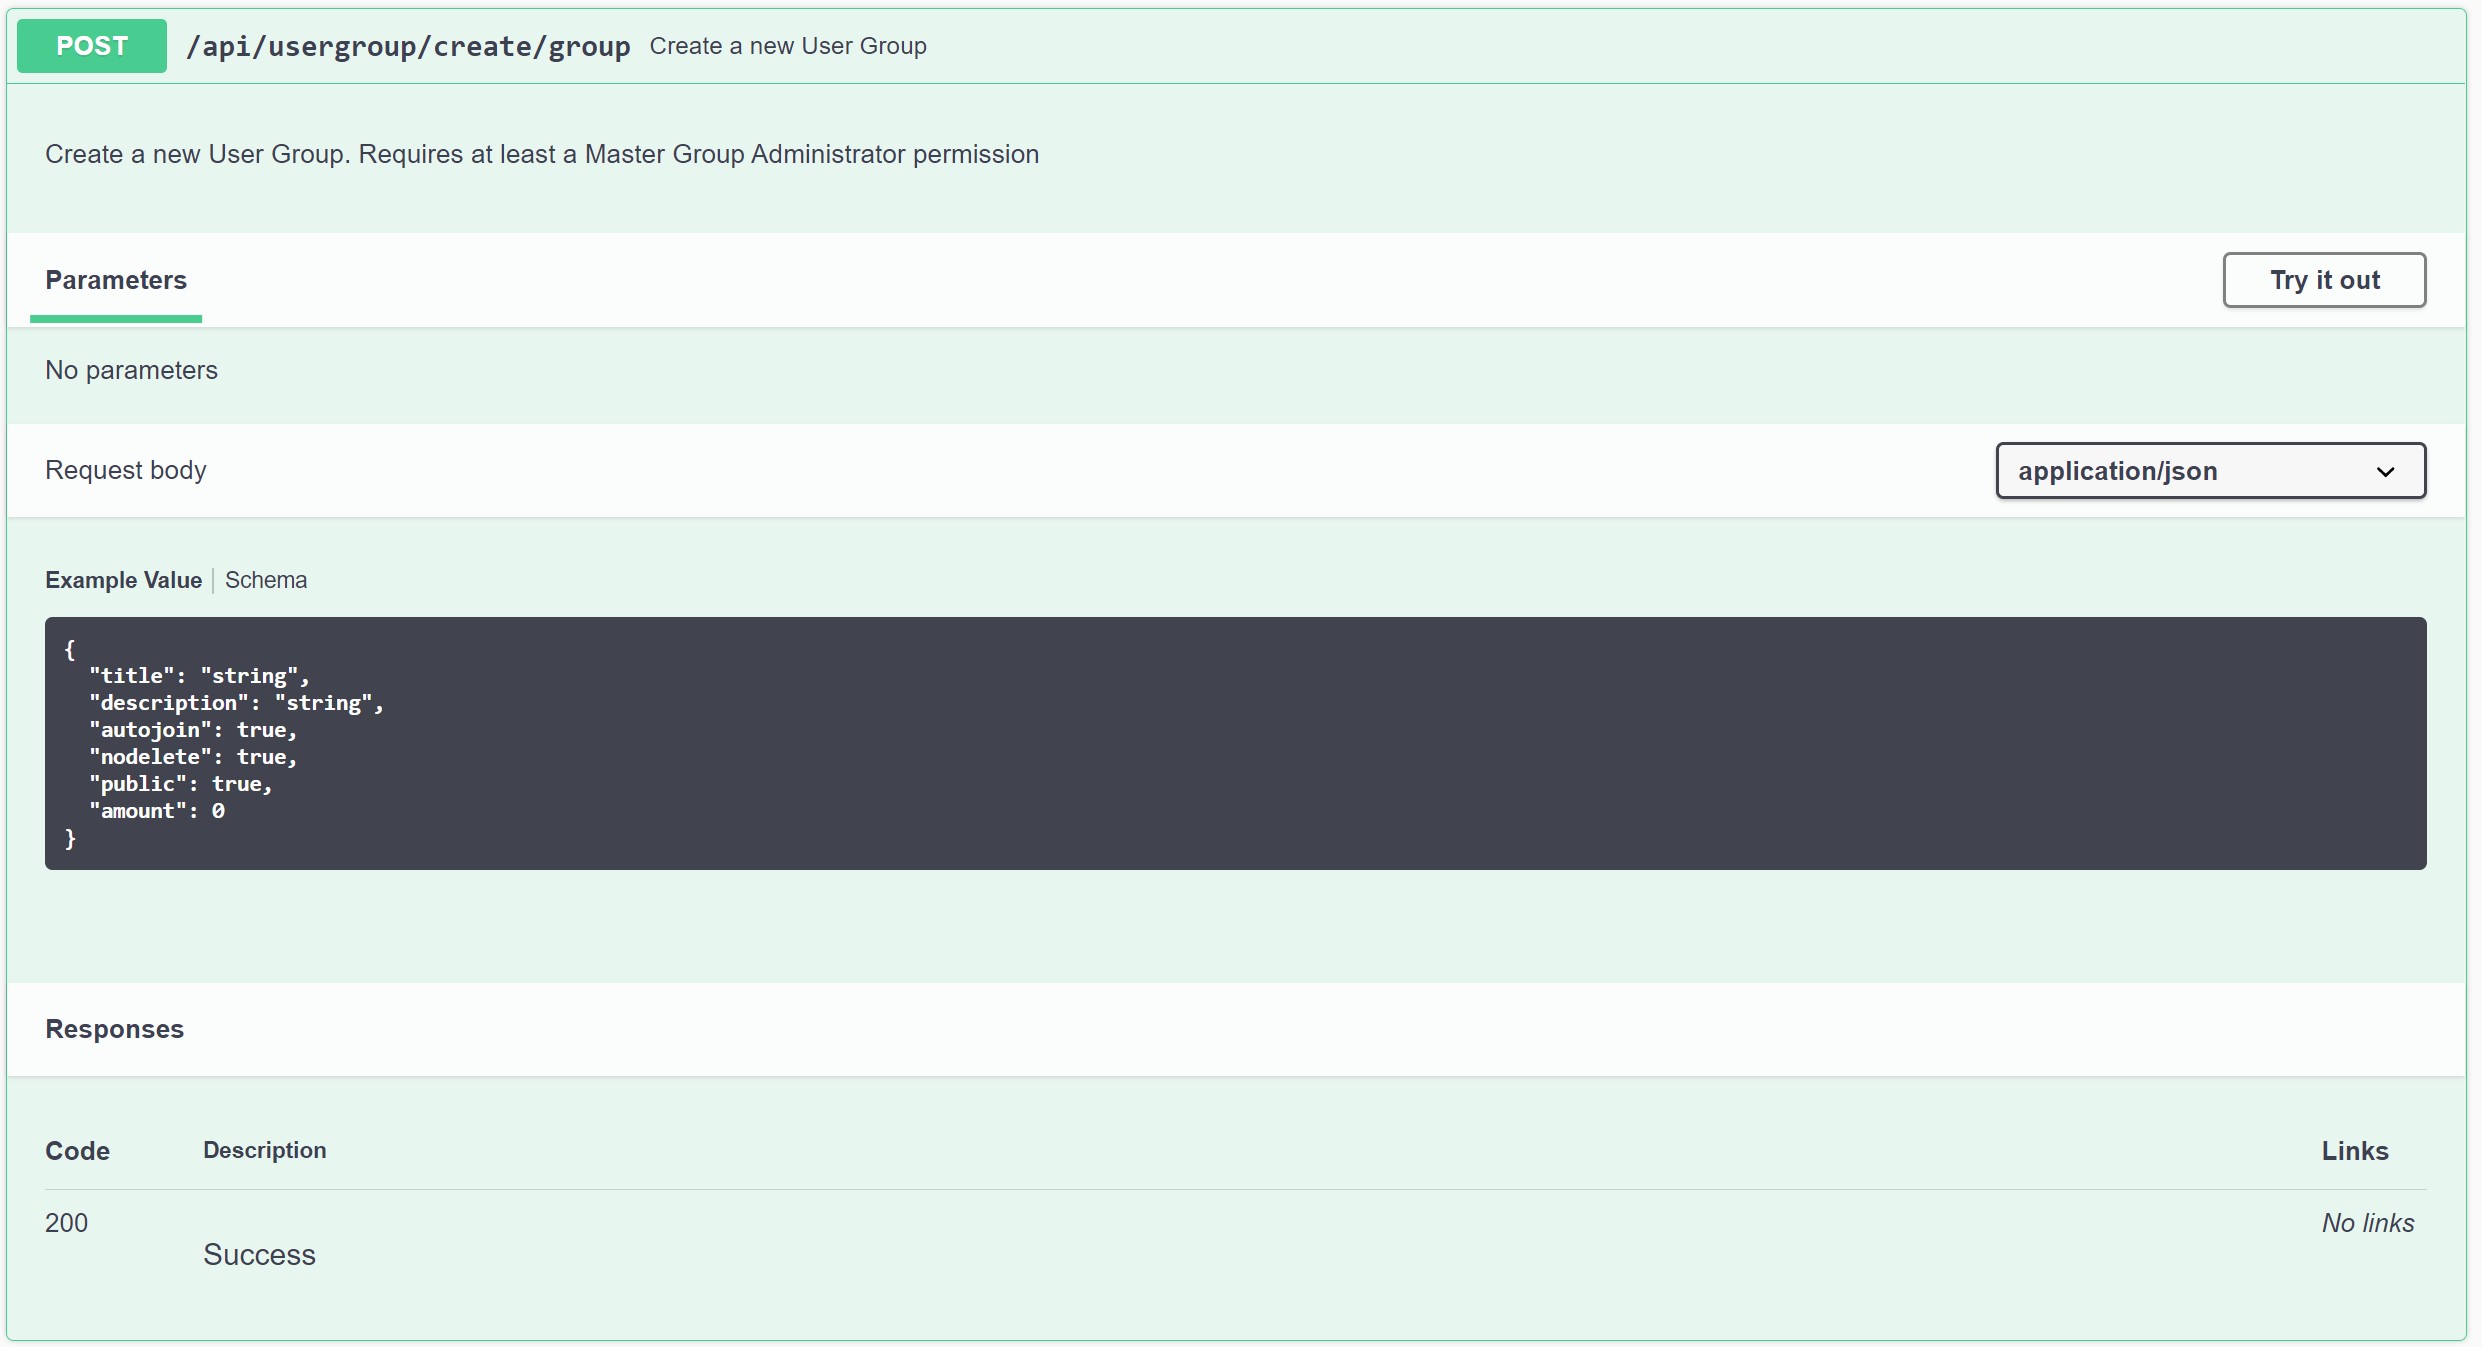 Here we can see what this endpoint requires and the values that can be set for the group attributes.
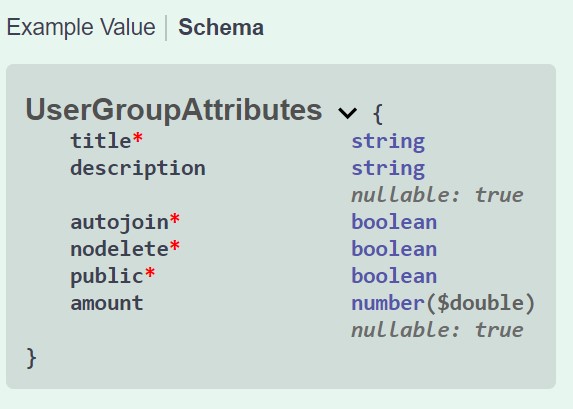
If you click ‘Schema’ next to ‘Example Value’ this gives more information of what type each attribute accepts.
Code
Here is an example code in Python (3.6.8) of how to create a new group.
Note: This doesn’t include getting an Access Token to be able to communicate with the Bracken API. Please add the necessary code to get an Access Token.
# using the endpoint to create a new group
urlCreateGroup = 'https://api.brackenlearning.com/api/usergroup/create/group'

response = s.post(urlCreateGroup, json={
  "title": "Group-Title",
  "description": "Group A",
  "autojoin": true,
  "nodelete": true,
  "public": true,
  "amount": 0
})

print(response)
print(response.json())
The part to focus on for this tutorial is this line.
# using the endpoint to create a new group
urlCreateGroup = 'https://api.brackenlearning.com/api/usergroup/create/group'
Which is where we use the endpoint that we found in the API Reference document to create a new group.
We create a new group by posting our information to the endpoint.
response = s.post(urlCreateGroup, json={
  "title": "Group-Title",
  "description": "Group A",
  "autojoin": false,
  "nodelete": false,
  "public": false,
  "amount": 0
})
In the above code we can see mock information that we are passing as a JSON body to the api/usergroup/create/group endpoint. We now have a new group.
Within this call you can set the ‘title’ and ‘description’ of the group along with autojoin, nodelete and public.
Important to note
When autojoin is true it means that every newly registered user in the domain automatically joins that group.
When nodelete is set to true, that particular group is not able to be deleted.
Lastly, when public is set to true any user is able to join this group in the public gallery area of Bracken and complete the courses that are connected to it.
Response
The [200] response for this call will look like the example below. Please note that autojoin, nodelete and public will default to false.
{
  "groupkey": 0,
  "domainkey": 0,
  "title": "string",
  "description": "string",
  "created": "2020-11-25T00:06:59.485Z",
  "autojoin": false,
  "nodelete": false,
  "public": false,
  "amount": 0
}
Create a Multicode
How to create a Multicode.
Find the endpoint
Go to the API Reference section of this documentation and to the controller called Public Domain.
There you will find an endpoint called ‘/api/domain/create/multicode’

Click on the endpoint and it will open up to show more information.
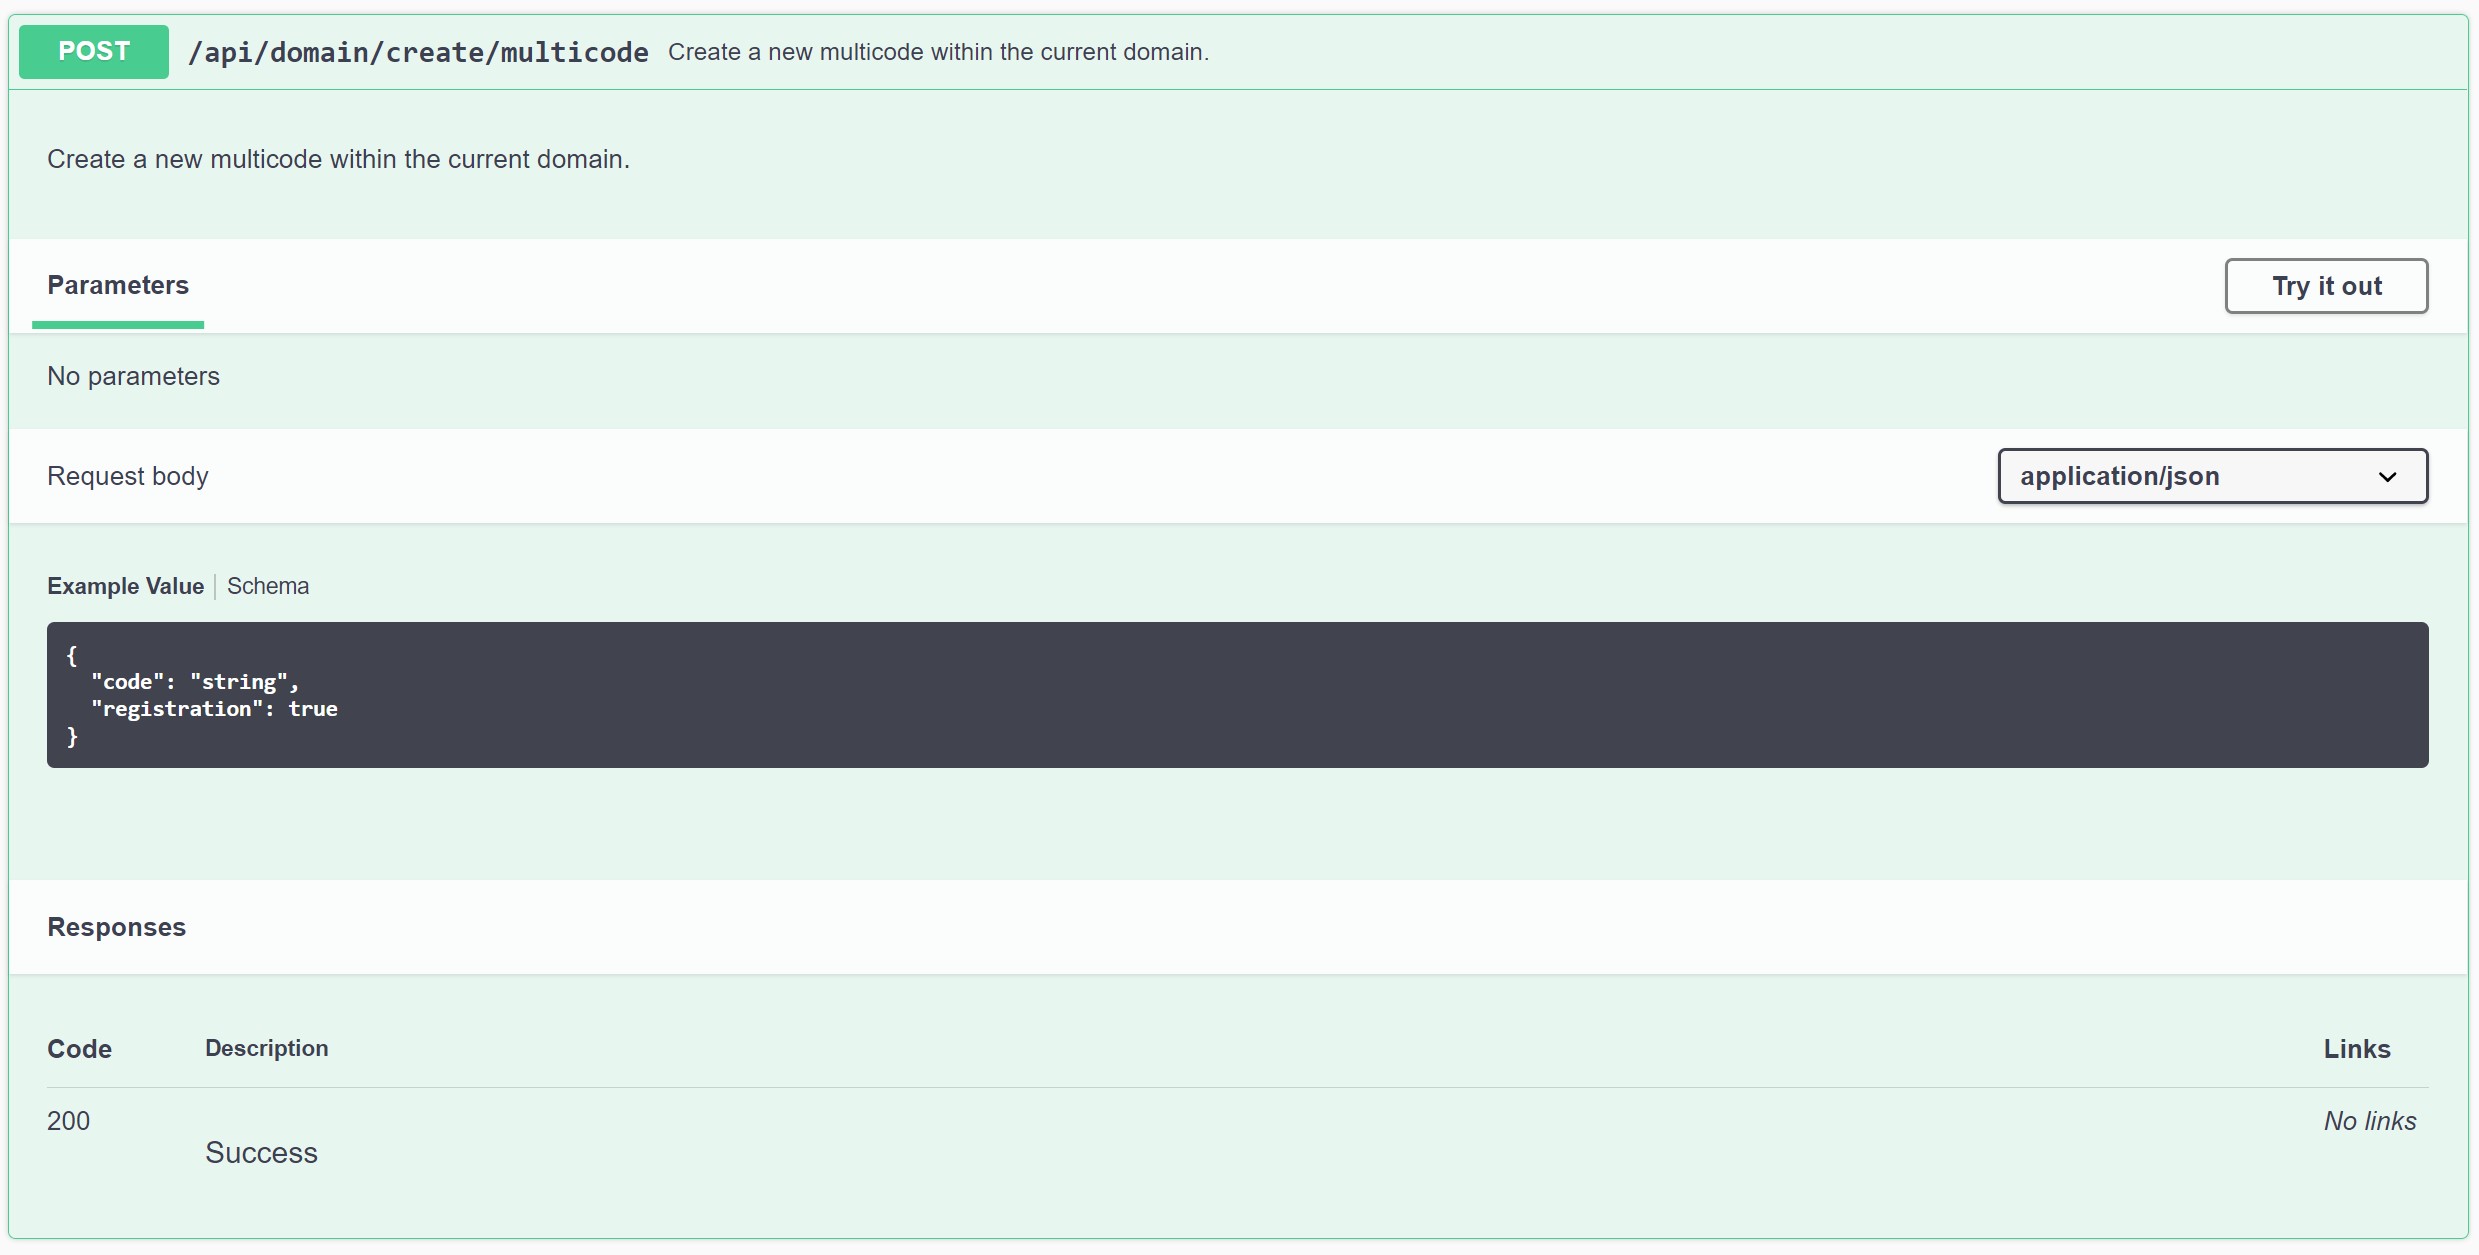 Here we can see what this endpoint requires and the values that can be set for the
 multicode attributes.
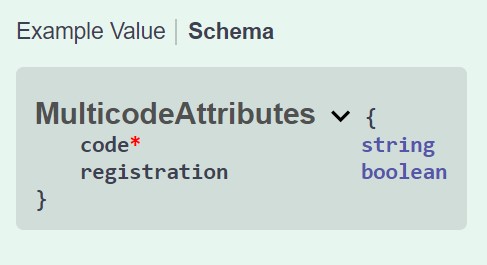
If you click ‘Schema’ next to ‘Example Value’ this gives more information of what type each attribute accepts.
Code
Here is an example code in Python (3.6.8) of how to create a new multicode.
Note: This doesn’t include getting an Access Token to be able to communicate with the Bracken API. Please add the necessary code to get an Access Token.
# using the endpoint to create a new multicode
urlCreateMulticode = 'https://api.brackenlearning.com/api/domain/create/multicode'
response = s.post(urlCreateMulticode, json={
  "code": "multicode-name",
  "registration": true
})
print(response)
print(response.json())
The part to focus on for this tutorial is this line.
# using the endpoint to create a new multicode
urlCreateMulticode = 'https://api.brackenlearning.com/api/domain/create/multicode'
Which is where we use the endpoint that we found in the API Reference document to create a new multicode.
We create a new multicode by posting our information to the endpoint.
response = s.post(urlCreateMulticode, json={
"code": "multicode-name",
"registration": true
})
In the above code we can see mock information that we are passing as a JSON body to the api/domain/create/multicode endpoint. We can now have a new multicode.
Important to note
The attribute code is the label of the multicode being created and within the domain.
Note: The code attribute must be unique.
If you set the registration to true it will appear on the registration page in the drop down menu.
This creates a multicode with an empty set that will be populated with group keys so that a user can be assigned to a multicode that references a collection of groups.
Response
The [200] response for this call will look like the example below.
{
  "codekey": 0,
  "domainkey": 0,
  "code": "multicode-name",
  "registration": true
}
Assign a Group to a Multicode
How to assign a group to a multicode.
Find endpoint
Go to the API Reference section of this documentation and to the controller called Public User Group.
There you will find an endpoint called ‘/api/usergroup/create/code’

Click on the endpoint and it will open up to show more information.
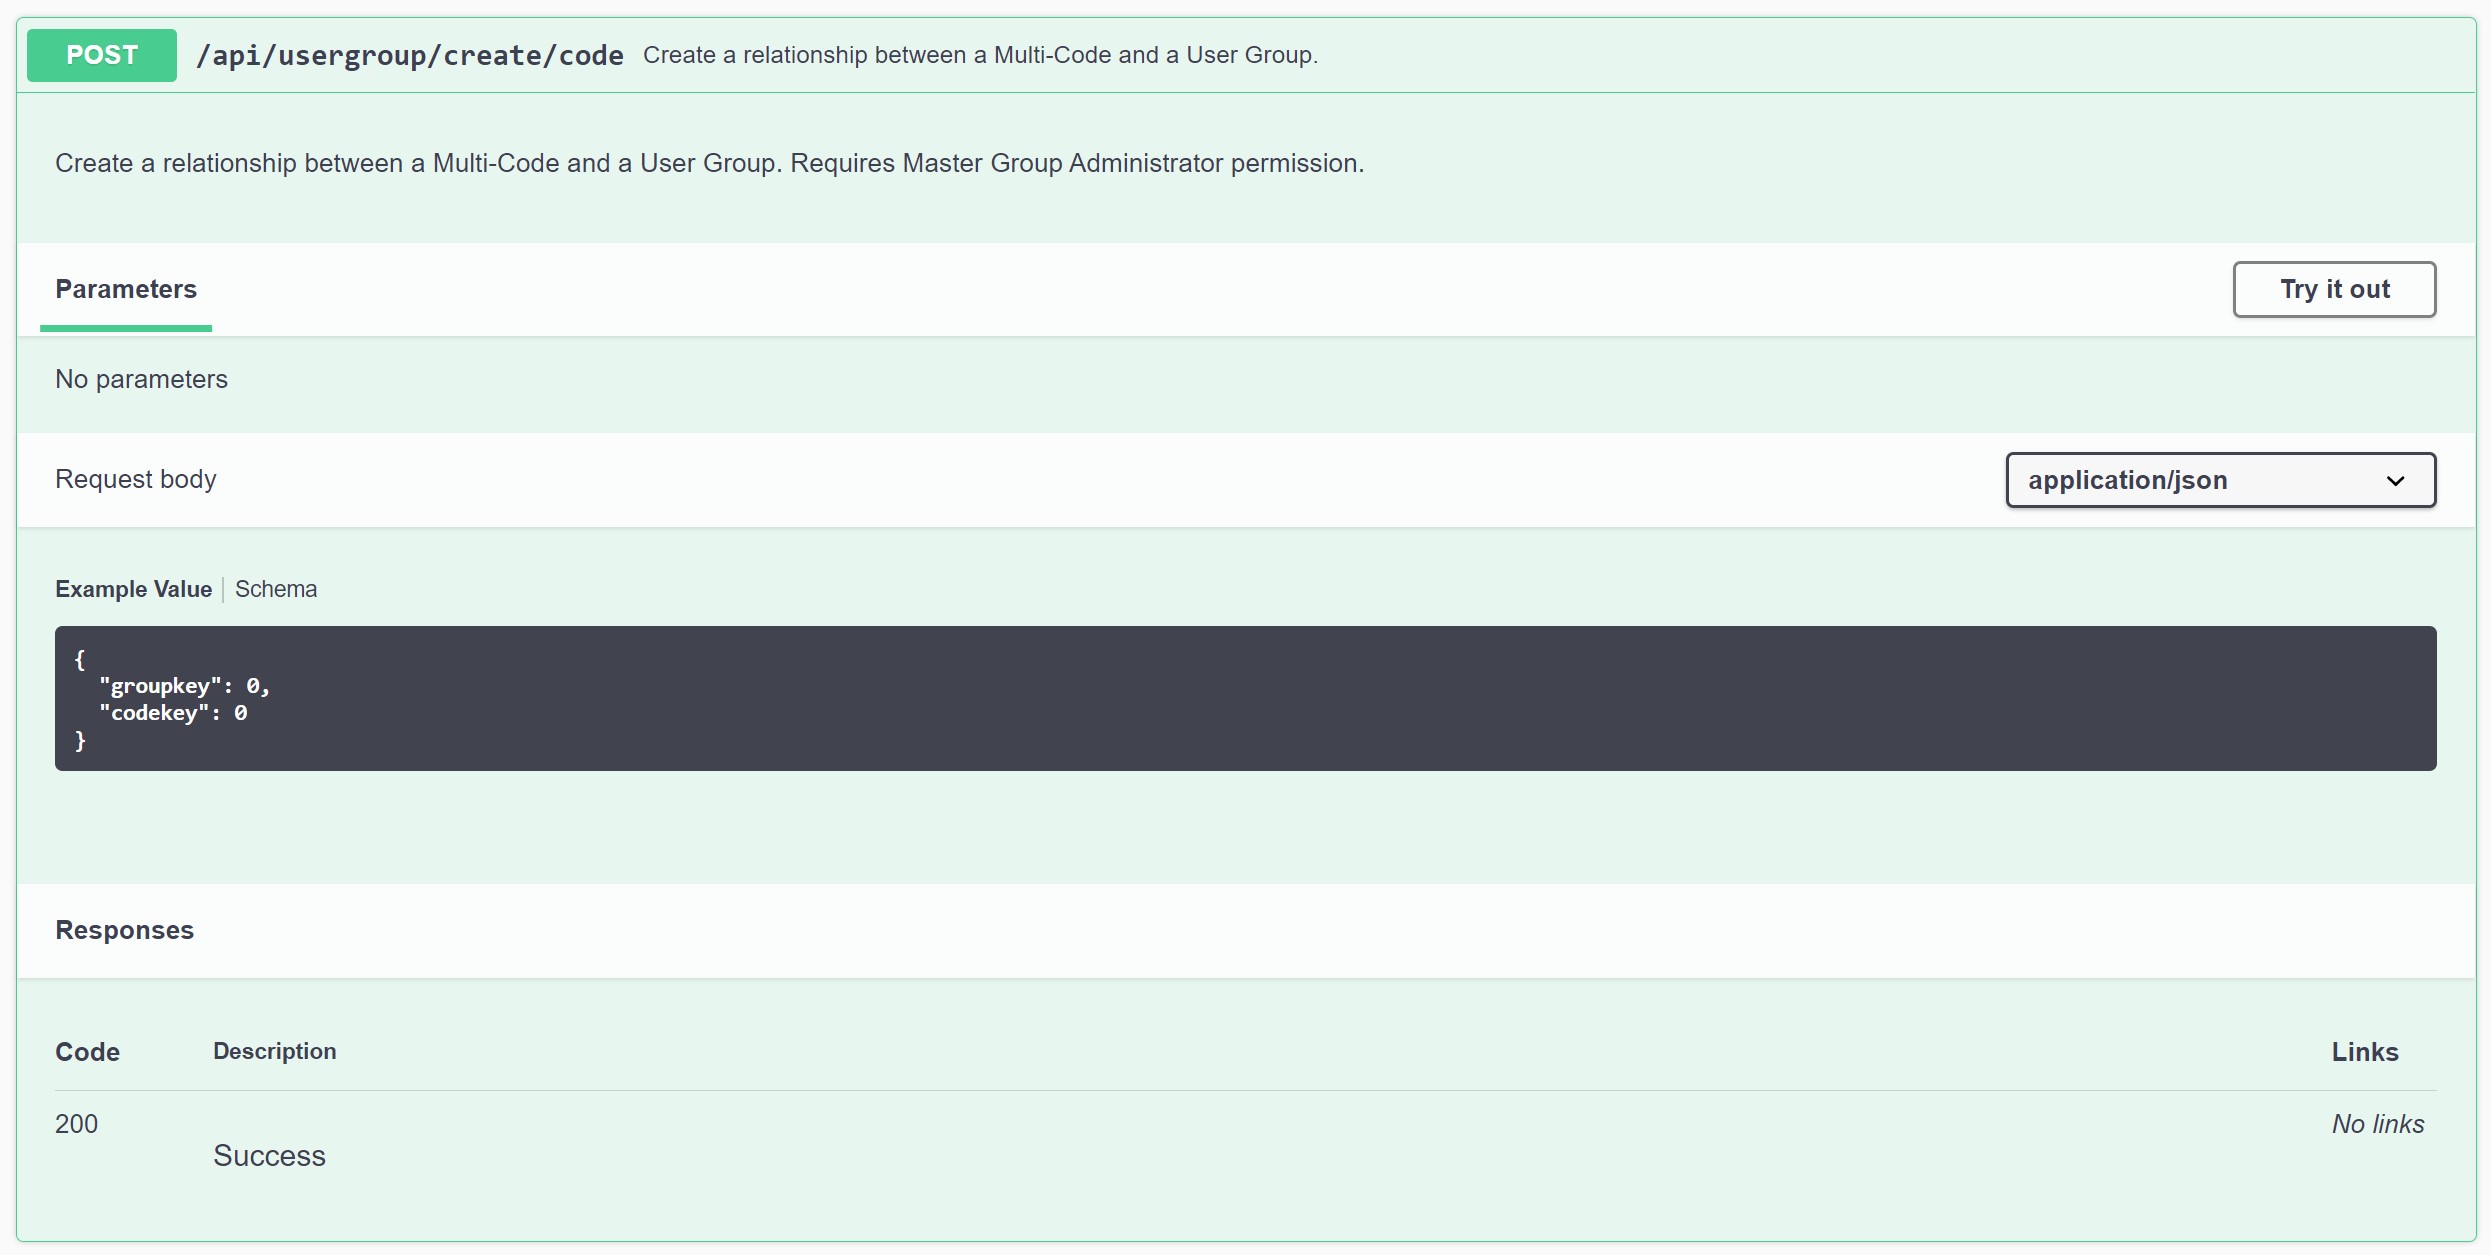 Here we can see what this endpoint requires and the values that can be set for the attributes.
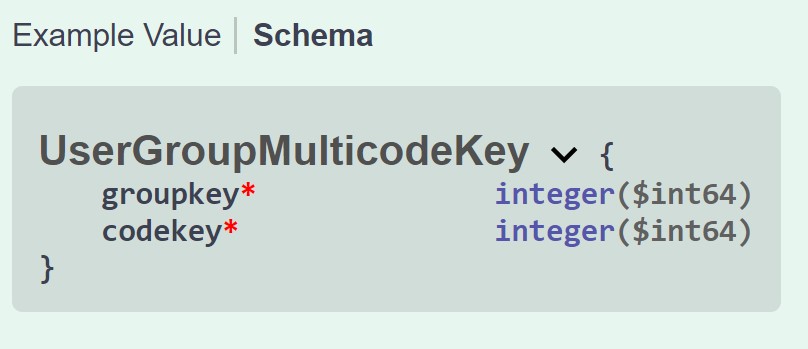
If you click ‘Schema’ next to ‘Example Value’ this gives more information of what type each attribute accepts.
Code
Here is example code in Python (3.6.8) of how to assign a group to a Multicode.
Note: This doesn’t include getting an Access Token to be able to communicate with the Bracken API. Please add the necessary code to get an Access Token.
# using the endpoint to assign a group to a Multicode
urlAssignGroupToMulticode = 'https://api.brackenlearning.com/api/usergroup/create/code'

response = s.post(urlAssignGroupToMulticode, json={
    "groupkey": 0,
    "codekey": 0
})

print(response)
print(response.json())
The part to focus on for this tutorial is this line.
# using the endpoint to assign a group to a Multicode
urlAssignGroupToMulticode = 'https://api.brackenlearning.com/api/usergroup/create/code'
Which is where we use the endpoint that we found in the API Reference document to assign a group to a multicode.
Important to note
The code parameter is the name of the selected multicode.
The codekey attribute is the unique numerical identifier for the multicode.
The groupkey is the unique identifier for the group(s) being assigned to the multicode.
Response
The [200] response for this call will look like the example below.
{
  "codekey": 0,
  "domainkey": 0,
  "code": "string",
  "registration": true
}